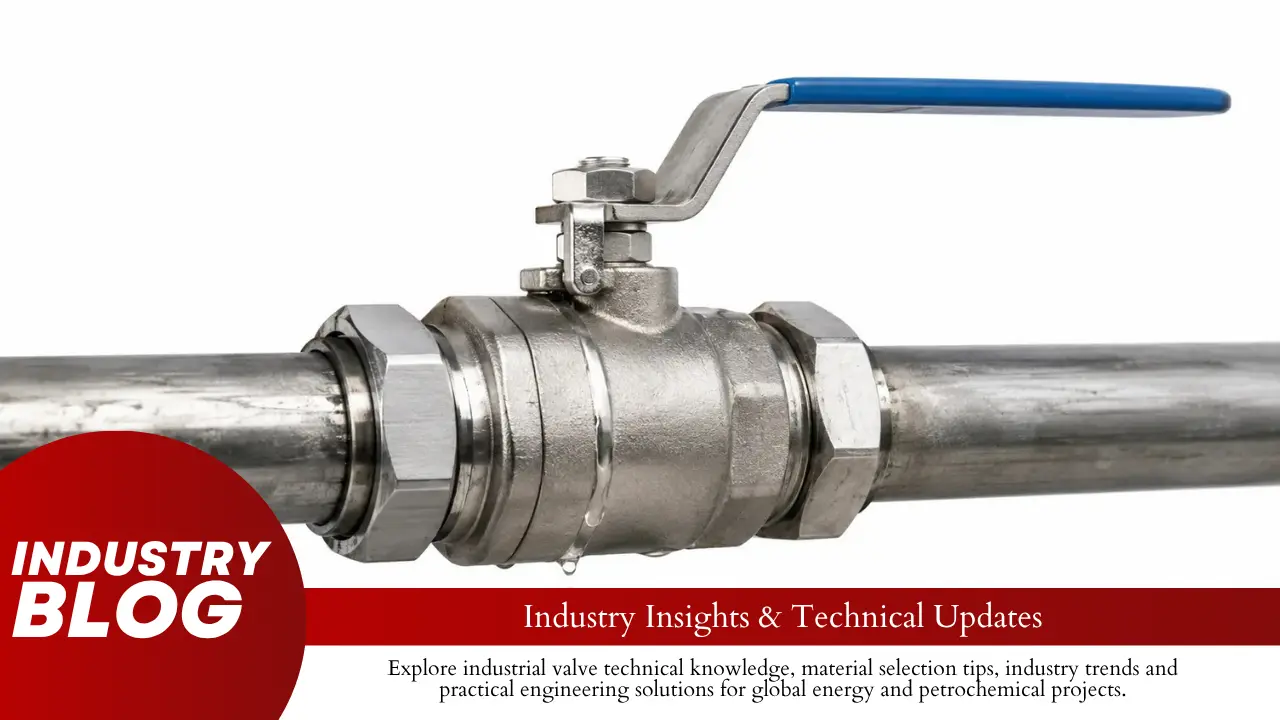
Safety: Do not loosen valve parts while the system is pressurized. Isolate and safely release stored pressure before removing an actuator, opening the body, or servicing seals. OSHA requires hazardous stored energy to be controlled during maintenance where unexpected release could cause injury.[1]
Check Differential Pressure First
Upstream pressure by itself does not tell you how much pressure is actually acting across the closed valve.
ΔP = upstream pressure − downstream pressure
Useful conversions:
- 0.1 bar ≈ 10 kPa ≈ 1.45 psi
- 0.5 bar ≈ 50 kPa ≈ 7.25 psi
- 1 bar = 100 kPa ≈ 14.5 psi
- 10 bar = 1,000 kPa ≈ 145 psi
| Upstream | Downstream | ΔP |
|---|---|---|
| 1.0 bar | 0 bar | 1.0 bar |
| 5.0 bar | 4.5 bar | 0.5 bar |
| 10.0 bar | 9.9 bar | 0.1 bar |
| 10.0 bar | 10.0 bar | 0 bar |
The last two rows show why line pressure can be misleading. A system may be running near 10 bar while the valve itself sees very little differential pressure.
The same thing happens during pressure equalization. If upstream pressure stays at 5 bar while downstream pressure rises from 0 to 4.9 bar, ΔP falls from 5 bar to 0.1 bar—a 98% reduction.
If the leak gets worse as ΔP drops, note that before taking the valve apart. That pattern helps narrow the fault quickly.
Find the Leak Path
Before checking seats or actuators, confirm where the fluid is actually going.
| Leak Type | Typical Location | Check First |
|---|---|---|
| Internal leakage | Upstream to downstream through closed valve | Seat, ball, seat loading, travel |
| Stem leakage | Around stem or packing | Packing and stem seals |
| Body leakage | Body joint, flange, thread, vent, drain | Gasket, seal, bolting, pressure boundary |
These are different problems and should not be treated the same way. A leak through the closed valve points toward the ball, seat, seat loading, or travel. Fluid coming out around the stem or body points toward the external sealing parts instead.
ISO 15848-1 deals with external leakage from valve stem or shaft seals and body joints in relevant valve applications.[2]
If the leak location is uncertain, use a stem-leak vs. seat-leak check before removing the valve.
Identify the Valve Type
Floating-ball and trunnion-mounted valves do not build sealing force in exactly the same way. Knowing which type you have changes what should be checked first.
| Valve Type | What Moves | Low-ΔP Check |
|---|---|---|
| Floating ball | Ball can move slightly toward downstream seat | Seat preload and downstream seat condition |
| Trunnion ball | Ball is supported; seats normally move | Seat springs, seat friction, rear seals, seat movement |
In a floating soft-seated ball valve, upstream pressure can push the ball toward the downstream seat.
In a soft-seated trunnion ball valve, the ball is supported, while spring-loaded seats move toward it.
So if a floating valve leaks mainly at low ΔP, look closely at seat preload and the downstream sealing surface. On a trunnion valve, seat movement, spring condition, and friction also deserve attention.
Compare Seat Force at Different ΔP
The effect of pressure is easier to see with numbers.
Assume a hypothetical effective pressure area of 20 cm², or 0.002 m².
| ΔP | Pressure | Force on 20 cm² |
|---|---|---|
| 0.1 bar | 10 kPa | 20 N |
| 0.5 bar | 50 kPa | 100 N |
| 1 bar | 100 kPa | 200 N |
| 5 bar | 500 kPa | 1,000 N |
| 10 bar | 1,000 kPa | 2,000 N |
The table uses force = pressure × area. It is only an example, not a calculation for a specific valve. Actual seat force depends on valve geometry and the real effective pressure area.
What matters here is the scale of the change: increasing ΔP from 0.1 bar to 10 bar increases pressure-generated force on the same area by 100 times.
If a valve becomes tight only after ΔP rises sharply, the higher pressure is hiding the problem rather than fixing it. The next step is to find out why the seat needs that extra force.
Check Seat Preload
Seat preload is the force already pushing the seat against the ball before process pressure adds much more load.
Loss of preload is more likely when:
- The valve used to seal at low ΔP but no longer does.
- The leak becomes much smaller as ΔP rises.
- The seat looks flattened or permanently compressed.
- The valve has spent long periods at elevated temperature.
- The seat has seen many operating cycles.
- An incorrect replacement seat has been fitted.
Soft polymer seats can slowly change shape under load. The seat may still look usable but no longer press against the ball with the same force it had when new.
Before replacing it, inspect the ball as well and look for the reason the preload was lost. Fitting another seat without correcting the cause can lead to the same leak again.
Inspect the Seat and Ball
When the valve is opened for inspection, focus on the sealing band rather than every cosmetic mark.
| What You Find | Likely Meaning |
|---|---|
| Narrow groove across seat | Hard particle dragged across sealing surface |
| Flattened seat area | Long-term compression, creep, or excessive loading |
| Missing seat material | Erosion, cutting, chemical damage, or excessive heat |
| Particles embedded in seat | Dirty pipeline or contaminated process |
| Scratch across ball sealing band | Possible direct leakage path |
| Uneven wear around seat | Misalignment, body distortion, or uneven loading |
Rust, welding residue, metal chips, sand, pipe scale, crystals, catalyst particles, and hardened process deposits are all capable of damaging the sealing surfaces.
A common failure path is:
debris enters → seat is held open → valve cycles → seat or ball is scored → permanent leakage remains
That is why repeatedly cycling a dirty valve can make the problem worse. Once a groove crosses the sealing band, simply cleaning the valve may no longer be enough.
A new seat will not solve a deep scratch across the ball’s sealing band either. Both sealing surfaces need to be checked.
Check Movable Seats
On trunnion and other movable-seat designs, the seat has to slide freely toward the ball. If it sticks, spring force may never reach the sealing surface properly.
Check for:
- Scale
- Corrosion
- Coke
- Crystallized product
- Polymer buildup
- Dirt in the seat pocket
- Damaged O-rings
- Broken or jammed springs
At low ΔP, spring force may not be enough to overcome the extra friction. When ΔP rises, added hydraulic force can move the seat and reduce the leak.
That pattern is useful, but it is not proof by itself. A worn seat or damaged ball can look similar in service.
Verify Pressure Direction
Some ball valves are effectively bidirectional. Others have seat arrangements that behave differently depending on which side is pressurized.
Check the valve drawing or body markings for:
- Flow arrow
- High-pressure-end marking
- SPE seat
- DPE seat
- Cavity-relief direction
Pressure direction can change which seat takes the main load and how pressure trapped in the body cavity is relieved.
If the valve leaks only from one side, check seat orientation and seat damage before assuming the entire valve has failed. More detail is available in one-direction ball valve leakage.
Verify Full Closure
A position signal can say “closed” while the ball is still slightly short of its mechanical stop.
A quarter-turn ball valve normally travels about 90° between fully open and fully closed.
If a valve intended for 90° travel stops at 87°, it has completed about 96.7% of the intended angular travel. That does not mean a 3° error always causes leakage, but it shows how a small travel error can exist even when the actuator appears nearly closed.
Check:
- Closed stop adjustment
- Coupling play
- Stem position
- Key or spline damage
- Actuator mounting
- Limit-switch setting
- Positioner calibration
ISO 5211 defines interface requirements for part-turn actuator attachment to industrial valves.[3]
Check Pipe Loads
A valve that worked before installation but started leaking after the pipe was connected may be suffering from installation load rather than seat failure.
Check for:
- Misaligned flanges
- Piping pulled into place with flange bolts
- Unsupported pipe
- Heavy unsupported actuator
- Thermal pipe movement
Pipe load is more likely when:
- The valve was tight before installation.
- Leakage appeared after flange tightening.
- Operating torque increased after piping was connected.
- Leakage changes as the piping heats or cools.
If the valve body is being distorted by the pipe, replacing the seat alone will not solve the root cause.
Check Temperature, Fluid, and Seat Material
The same seat material can behave very differently once temperature, chemistry, and solids are added to the picture.
| Condition | What Can Happen |
|---|---|
| Long-term high temperature | Seat softening, creep, permanent deformation |
| Low temperature | Seal hardening, reduced flexibility, contraction |
| Wrong chemical compatibility | Swelling, softening, shrinkage, cracking |
| Abrasive solids | Seat cutting and ball wear |
| Heavy throttling | Local seat and ball erosion |
Very low-temperature service needs separate consideration. −196°C is about 77 K, close to the boiling point of liquid nitrogen at atmospheric pressure. ISO 28921-1 covers isolation valves for low- and cryogenic-temperature applications down to −196°C within its scope.[4]
For this type of service, a cryogenic ball valve uses materials and sealing arrangements intended for large temperature changes.
For abrasive or high-temperature service, a metal-seated ball valve may be more suitable than a soft-seated design. Metal seats are not automatically tighter; they are mainly used because they can survive conditions that may damage a soft seat.
Do Not Use Pressure Class as a Leakage Rating
Pressure class and seat tightness answer two different questions.
ASME B16.34 covers pressure-temperature ratings, materials, dimensions, testing, and marking for valves within its scope.[5]
| Term | What It Tells You |
|---|---|
| Working pressure | Pressure present in normal operation |
| Pressure rating | Pressure the valve can contain under specified conditions |
| Seat leakage requirement | How much may pass through the closed valve under defined conditions |
A Class 300 valve is not automatically tighter at 0.1 bar ΔP than another valve with a lower pressure class.
If low-pressure isolation matters, the leakage requirement at the minimum operating ΔP needs to be written into the purchase specification.
Read Test Results Correctly
A pass or fail result means little unless the test conditions are known.
Check:
- Gas or liquid test medium
- Test pressure
- Pressure direction
- Hold time
- Leak measurement method
- Allowed leakage
- Shell test or closure test
ISO 5208 covers pressure testing and closure-tightness testing of industrial valves.[6]
API guidance for API 598 lists shell, backseat, low-pressure closure, and high-pressure closure as separate test categories.[7]
Hydrostatic means liquid is used as the pressurized test medium. It does not automatically mean a shell test.
Shell test checks the pressure-containing boundary.
Closure test checks leakage through the closed valve.
A valve can therefore pass a high-pressure shell test and still fail a low-pressure gas seat-leakage requirement.
The differences between common test setups are shown in hydrostatic, pneumatic, and cryogenic ball valve testing.
Decide Whether It Is Design or Damage
When the leak started is often more useful than the leak rate by itself.
| History | More Likely Cause |
|---|---|
| Leaked at low ΔP from commissioning | Selection, seat design, pressure direction, installation, test expectation |
| Originally sealed, then slowly got worse | Wear, creep, heat, chemistry |
| Started after welding or flushing | Debris or installation damage |
| Started after actuator work | Travel or alignment |
| Started immediately after rebuild | Wrong parts, assembly error, contamination, existing ball damage |
If the valve has leaked at low ΔP since commissioning, replacing parts may not be the right first move. The original valve selection and low-pressure shutoff requirement should be checked first.
Use the Leakage Pattern
The way the leak changes with pressure, temperature, direction, or operating history can point you toward the right component.
| What You See | Check First |
|---|---|
| Leak falls as ΔP rises | Seat preload, sealing surfaces, movable-seat friction |
| Leak slowly increases with time | Wear, creep, temperature, chemistry |
| Leak appears after dirty process event | Debris, seat groove, ball scratch |
| Leak appears mainly when hot | Seat softening, thermal movement, material limit |
| Leak appears mainly when cold | Seal hardening, contraction, low-temperature suitability |
| Valve becomes hard to turn and leaks | Seat deposits, pipe load, seat damage |
| Leaks only from one pressure direction | Seat orientation, SPE/DPE design, damaged seat |
| Gas test leaks but liquid test passed | Test pressure, medium, method, allowed leakage |
Before opening the valve, record the valve model, seat material, fluid, temperature, upstream pressure, downstream pressure, ΔP, pressure direction, test medium, actuator type, and recent maintenance history.
If ΔP falls from 2 bar to 0.2 bar, pressure-generated force on the same effective area also falls by 90%. If leakage appears during that change, the seat-loading system should be checked before parts are replaced at random.
Repair or Replace?
| Repair Is Reasonable | Change the Valve or Design |
|---|---|
| Replaceable seat is worn | Valve needs more ΔP than the process provides |
| Contamination can be removed | Required leakage is tighter than design capability |
| Actuator travel can be corrected | Seat failures keep returning |
| Ball can be restored or replaced | Ball or body is badly damaged |
| Correct seal kit is available | Temperature or chemistry exceeds material limits |
Repeated rebuilding makes little sense if the valve’s seat design simply needs more ΔP than the process can provide.
Specify Low-Pressure Shutoff
An RFQ such as “NPS 4, Class 300 ball valve” still leaves out the information needed to judge low-pressure sealing.
Add the values that affect shutoff:
- Minimum ΔP
- Maximum pressure
- Process medium
- Temperature range
- Required seat leakage
- Pressure direction
- Gas or liquid service
- Seat material
- Seat-loading method
- Solids or abrasive contamination
- Expected operating cycles
If the process requires tight shutoff at 0.1 bar ΔP, or about 1.45 psi, put that number in the specification. Do not assume pressure class covers it.
Check Vacuum by ΔP
Vacuum service can still put a meaningful differential pressure across the valve.
Standard atmospheric pressure is about 1.013 bar absolute.
| Side A | Side B | Approximate ΔP |
|---|---|---|
| 0.01 bar abs | 1.01 bar abs | 1.00 bar |
| 0.01 bar abs | 0.02 bar abs | 0.01 bar |
The first case is a vacuum system, but the closed valve still sees about 1 bar ΔP. In the second case, both sides are under vacuum and the valve sees almost no differential pressure.
For vacuum service, check the pressure on both sides, pressure direction, seat preload, stem seals, body seals, and required vacuum leakage rate.
Finally
If a ball valve leaks only when ΔP is low, start with the numbers and the hardware. Measure pressure on both sides, confirm the ball reaches its full mechanical closed position, and check how the seat is loaded. On a hypothetical 20 cm² effective area, pressure force is about 20 N at 0.1 bar ΔP, 200 N at 1 bar, and 2,000 N at 10 bar. If the valve sealed at the same low ΔP when new but no longer does, look for preload loss, wear, debris, ball damage, temperature effects, or stuck seats. If it has leaked since commissioning, check the original low-ΔP requirement before replacing parts.